Price grids are predefined rates that help manage channel manager pricing with flexibility. Grids allow you to apply rates without relying on fixed relations between rooms and rate plans, such as formulas. Use up to 30 different price grids within a defined date range to control pricing strategy. To learn how to create grid levels.
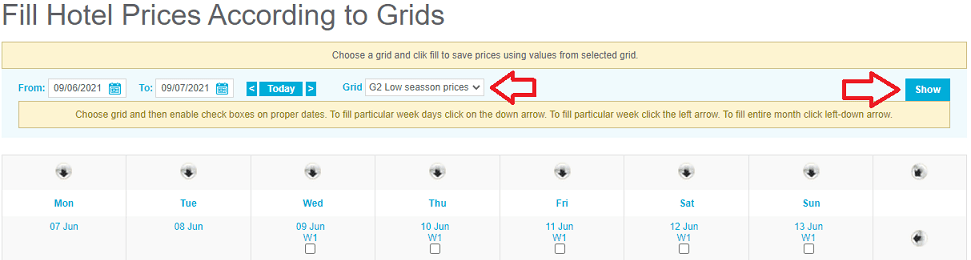
Set a date range
Establish the time frame for the price grids before assigning specific levels.
Step by step:
- In the "Prices and Availability" section, open the "Update Prices Using Grids" tab.
- Select the required period in the calendar.
- In the Grid Level dropdown menu, select a grid level.
- Click Show.
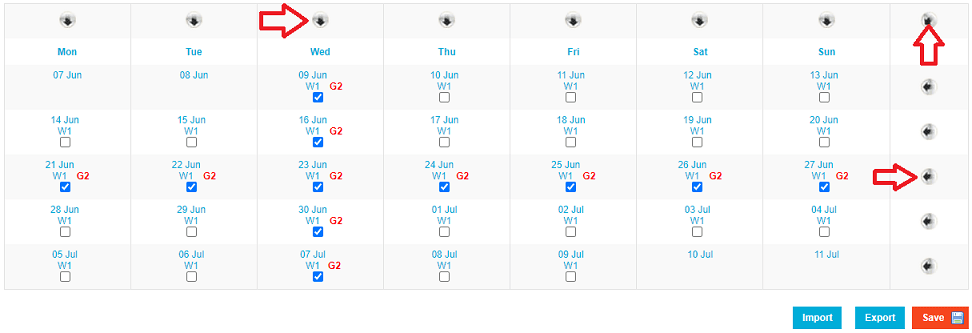
Assign grid levels
Follow the steps below to assign grid levels to specific dates or groups of dates. You can assign levels individually or use bulk arrows for faster updates.
Step by step:
- Click the top arrows to set a grid level for all instances of a specific day of the week, such as every Monday.
- Click the arrows on the right to assign a grid level to a full selected week.
- Click the arrow in the top-right corner to assign a grid level to every day displayed on the screen.
- To assign different levels to specific dates, select a new level from the Grid Level dropdown menu without clicking Show, then check the box under the selected date.
- Click Save.
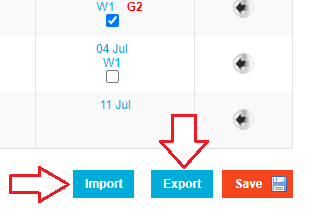
Import and export grids
Manage large sets of data by exporting price grids to a spreadsheet. You can update offline and import the data back into the channel manager.
Important:
Don't change the spreadsheet file formatting. Altering the structure of the file prevents the system from importing the grid data correctly.
Step by step:
- Click Export to download the current grid data as an Excel file.
- Update the pricing levels within the file.
- Click Import to upload the revised file to the channel manager.